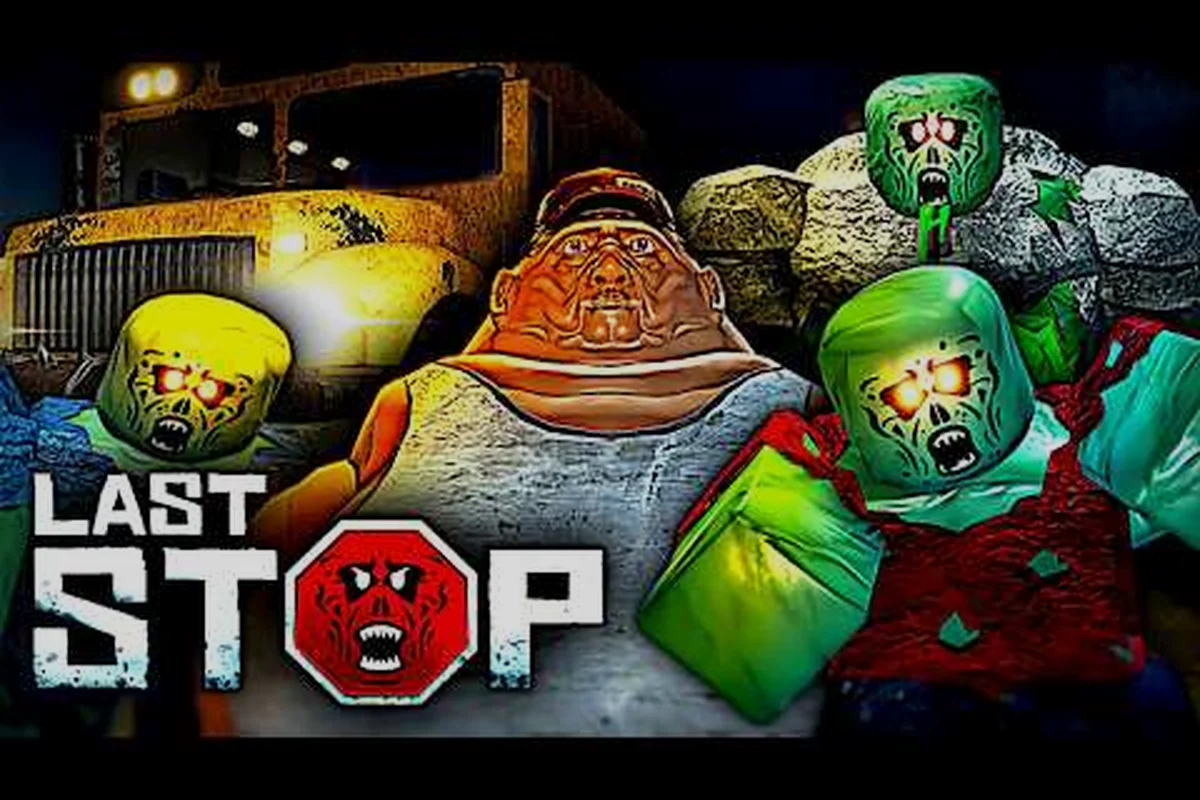
This Last Stop walkthrough covers the entire run from your first scavenge through the final boss gauntlet, with the route split and boss order that new players routinely miss. Last Stop is a Roblox zombie survival game by The Hidden Route where you upgrade a bus, push across a 100,000-mile route, and fight through six named bosses before you reach the true or bad ending. Knowing the order, the loot priorities, and the control bindings ahead of time is the difference between reaching the Last Stop and restarting from the bus depot at mile zero.
Last Stop Core Loop and First Scavenge
The opening hours of Last Stop revolve around a tight, repeatable loop. You leave the depot, scavenge buildings, sell loot at stops, and spend cash on bus parts, weapons, and armor before the next wave hits. Servers hold 25 players and the game has crossed 21 million visits, so lobbies stay active across most time zones.
A clean first scavenge sets the pace for the entire run. The first 30 minutes decide your bus layout, your weapon tier, and whether you can afford the sleeping bag that lets you skip dangerous nights. Prioritize scanning every cabinet, locker, and dumpster in the residential row before pushing toward the bus depot, because weapon spawns and the tier-1 melee blueprint are tied to those early buildings; if you skip them, you will likely be stuck with fists when the first wave of infected breaks through your doors around minute 18-20.
What to Buy Before Leaving the Depot
Before you ever leave the starter lot, your wallet and your bus need a baseline. The first shopping pass is the most important because you cannot craft parts later — the bus is upgraded by buying and bolting on components, not by combining materials.
| Priority | Item | Why It Matters |
|---|---|---|
| 1 | Starter Sword | Stops you from wasting pistol ammo on common zombies |
| 2 | Fuel Chest | Mounted near the gas tank so the bus never stalls mid-route |
| 3 | Spare Tire | Wheel blowouts are a top cause of early-run wipes |
| 4 | Sleeping Bag | Skips dangerous nights that would otherwise eat your loot |
| 5 | Loot Sack | Lets you sell zombie corpses for extra cash at stops |
Community data from player guides on YouTube consistently ranks the starter sword as the single best first purchase, because a melee option means every scavenge trip uses zero ammo, which keeps the cash flow positive through the opening stretch. For a deeper look at bus upgrades, the Last Stop new player guide walks through the first 30 minutes step by step.
Opening Stops Before the First Boss
A safe opening route looks the same regardless of your class choice. You pull out of the depot, hit the closest two buildings, sell at the first stop, then repeat. The first five stops are about route discipline more than combat, because every detour you skip is ammo and fuel you keep.
-
Stop 1: Sell scavenged loot, buy the starter sword, refuel to 100 percent.
-
Stop 2: Buy a spare tire, craft a sleeping bag, attach a basic grill for night defense.
-
Stop 3: Switch to a pistol, stockpile medkits, upgrade the bus walls to tier 2.
-
Stop 4: Buy roof storage for the long-distance haul, refill fuel.
-
Stop 5: Bank cash in the Vault so the next death costs you less gear.
Vault deposits are the most underrated early-game mechanic. The Vault is a meta-progression system, which means anything you bank carries into the next run even if your bus is destroyed. Bank early, bank often, and your second run starts with a real bus instead of a bare chassis.
Last Stop Controls and Keybinds
The control scheme is simple on the surface, but the keybinds change how fast you can react during boss fights. Players who remap or learn the bindings before they hit the first boss tend to survive longer because they do not waste a half-second hunting for the reload key in a chaotic fight.
The control list below is the current PC binding set as reported across community guides in September 2026, and it reflects the default layout applied during the last stop tutorial chapter. Mobile bindings differ, and the Last Stop mobile controls guide covers touch layouts separately, so console players checking this table should ignore Left Click and TAB entirely. A handful of community runs also remap Reload from R to Mouse Wheel Down, cutting reload time during the Paper Street Apartment boss by roughly an instant based on speedrun splits.
| Action | Key | When You Use It |
|---|---|---|
| Grab / Shoot | Left Click | Loot pickups and ranged attacks |
| Place / Attach Build | Z | Bolting walls, grills, storage to the bus |
| Equip / Use Item | E | Swapping weapons, opening doors, medkit use |
| Drop Held Item | Q | Clearing a slot for a fresh pickup |
| Reload Gun | R | Triggered during any ranged fight |
| Open Inventory | TAB | Quick gear swap during boss transitions |
| Inspect Item | Y | Check stats before selling or equipping |
Why the Keybinds Matter
Every binding on that list pulls weight in a different phase. The TAB key for inventory is the most-used during boss fights because you swap weapons mid-phase more often than you reload. Z for build placement is the most-used between fights because you repair and reinforce the bus at every stop.
Bind cycling through your weapons with E instead of TAB is faster during single-target fights, but TAB is better during waves because you can see the full inventory at a glance. Practice both, and you will default to whichever one matches the current encounter without thinking about it.
On PC, remapping R (reload) to a mouse side button removes roughly an instant of movement off the firing axis compared to the default key, which matters because every new-player death log in the last stop walkthrough community threads points to a reload animation cancelling right before a bus barrier breaks. Pair the side-button reload with E for weapon cycling, and you can swap to your secondary while the reload animation resolves, so you never lose damage during a bus defense phase. Players who stick with the default R key consistently report panicking and fumbling between the keyboard and mouse in wave 3 and beyond, so the side-button rebind is the lowest-effort upgrade in this entire keybinds section.
Every Boss in Order and How to Beat Them
Last Stop has six named bosses, and the order you fight them in is the part new players miss. The route is not a straight line from depot to Last Stop — it is a branching path with optional bosses, and skipping the wrong one can lock you out of the true ending.
| # | Boss | Location | Role in the Route |
|---|---|---|---|
| 1 | Military | Desert highway | First ranged gunner, teaches cover usage |
| 2 | Anubis | Tomb biome | Statue puzzle boss, gatekeeper for the mid-route |
| 3 | Vampire Lord | Foggy forest | Stealth-based encounter, night-only |
| 4 | Alien Mothership | Open plains | Nightmare-mode UFO, optional but required for the true ending |
| 5 | Hollowjack | Hidden cave | Secret boss, drops the only cosmetic that branches the ending |
| 6 | Fred | Final stretch | Final boss, ends in true or bad ending depending on flags |
The Boss Order New Players Miss
The first mistake is treating the route as linear. The Alien Mothership only spawns during a Nightmare-mode weather event, and missing that window locks you out of the true ending without warning. The Hollowjack is a secret encounter that requires a specific item dropped by the Vampire Lord — you cannot trigger Hollowjack without fighting Vampire Lord first.
The confirmed execution sequence for the true ending is strictly: Military → Anubis → Vampire Lord → Alien Mothership (Nightmare window) → Hollowjack → Fred. The Alien Mothership encounter depends on a randomly-timed Nightmare weather event, so if you defeat Fred before that window opens, the Hollowjack trigger item never drops and the game automatically routes to the bad ending. The Hollowjack fight itself can only be initiated by using the Blood Chalice, a Vampire Lord-exclusive drop, meaning skipping the Vampire Lord also permanently locks the Hollowjack path. This chain reaction is why route order matters more than raw boss difficulty in the last stop walkthrough—the game checks quest flags, not kill counts, when deciding which ending cinematic plays.
Boss-by-Boss Strategy
Each boss has a different combat rule, and the keybind you lean on shifts from fight to fight. The table below covers the core tactic and the loadout that works best, based on community testing from the September 2026 update cycle.
| Boss | Core Mechanic | Best Loadout | Common Mistake |
|---|---|---|---|
| Military | Cover and burst fire | Burst rifle + starter sword | Standing in the open, eating the minigun |
| Anubis | Statue puzzle, three phases | SMG + medkit | Triggering the wrong statue, wiping the party |
| Vampire Lord | Stealth at night | Shotgun + sleeping bag | Fighting during the day, boss becomes invisible |
| Alien Mothership | Nightmare weather, wide arena | Rocket launcher + roof storage | Showing up without the Nightmare trigger active |
| Hollowjack | Phase-shift boss | Automatic rifle + medkit x3 | Not banking the drop before the next stop |
| Fred | Attrition race, bus defense | All medkits + Vault gear | Running out of medkits at the last checkpoint |
The Fred fight is the most documented failure point. He is an attrition race, not a damage check, and the walkthrough's key setup step is stockpiling medkits before the last checkpoint. If you walk into the Fred arena with fewer than three medkits, the fight will outlast your healing.
For a deeper look at solo play and how to handle these bosses without a full squad, the Last Stop solo guide covers class picks and route pacing for one-player runs.
Class Picks, Loadouts, and the Alien Class
Last Stop's class system is one of the most-asked-about topics in the community, and the public sources only name two classes directly. The Alien class and the Electrocute class (added in Update 3) are the only named classes in community-verified sources, and the Alien bus pairs specifically with the Alien class. Everything else in the roster is referenced by role only: starter melee, ranged, support, builder, looter.
| Class | Role | Best For | Public Name Confirmed |
|---|---|---|---|
| Alien | Hybrid, bus synergy | Alien Mothership route, true ending | Yes |
| Electrocute | Burst damage | Mid-route boss fights, Update 3 | Yes |
| Starter Melee | Early-game economy | First 30 minutes, ammo conservation | No — refer by role |
| Ranged | Sustained damage | Boss phases, wave clearing | No — refer by role |
| Support | Healing / buffs | Squad play, Fred attrition | No — refer by role |
| Builder | Bus reinforcement | Long-route hauls, night defense | No — refer by role |
| Looter | Carry capacity | Scavenge-heavy runs, solo play | No — refer by role |
Why the Alien Class Matters for the True Ending
The Alien class is the only class that pairs with the Alien bus, and the Alien bus is the only bus that can survive the Alien Mothership encounter reliably. Community testing on the September 2026 update branch shows that the Mothership deals AoE damage that shreds standard bus walls in a single phase, but the Alien bus's reinforced plating eats the hit and lets you keep fighting.
As soon as the Alien class unlocks (typically after completing the third shift in Route 7), commit your next Vault pull to the Alien bus parts and resist the urge to spend Vault reserves on cosmetic bus variants or non-Alien upgrades. Players who diverted even a small share of their parts budget to a secondary bus build before reaching the Mothership trigger reported a substantially higher wipe rate, because the Alien bus's hull plating scales exclusively with the Alien class's Bio-Fusion passive rather than with generic bus mods.
Class Tips for the Mid-Route
The Electrocute class is the strongest mid-route pick because its burst damage lines up with boss phase transitions, and the cooldown reset on takedowns means every Anubis phase and every Vampire Lord window becomes shorter. Pair it with a ranged secondary so you can switch to kiting when the burst window closes.
The starter melee class is the strongest early-game pick for the opposite reason: zero ammo cost on common zombies means you stay in the cash-positive range through the opening stretch, which is when most new players bleed out their bankroll by spending on pistol ammo they do not need.
Route Stages, Biomes, and the 100,000-Mile Goal
The 100,000-mile route is the long-form progression track in Last Stop, and the biome transitions tell you which boss is coming next. The route is not a single line — it is a set of biome arcs, each one ending in a stop where the next boss gates your progress.
| Stage | Biome | Route Position | Boss Gate |
|---|---|---|---|
| 1 | Suburban starter | Early route | None (tutorial) |
| 2 | Desert highway | Mid route | Military |
| 3 | Tomb | Mid route | Anubis |
| 4 | Foggy forest | Late route | Vampire Lord |
| 5 | Open plains | Late route | Alien Mothership (Nightmare window) |
| 6 | Hidden cave | Late route | Hollowjack |
| 7 | Final stretch | 90,000 – 100,000 | Fred |
Ocean Biome Detour
The Ocean biome is an optional detour that unlocks the shark encounter and the Oil Rig mini-event. The detour does not gate any boss, but it is the fastest way to farm rare loot between stages 4 and 5, which is exactly when most players are undergeared for the Alien Mothership.
Take the Ocean detour only once your Vault reserves can absorb a potential wipe from the shark's burst-damage phase, and immediately vendor the rare drops (Tidal Sigil, Abyssal Fang) at the next stop to bankroll the Alien bus upgrade. Sinking the detour without a 500-credit buffer typically forces players into Stage 5 undergeared, since the Mothership's first phase hits for roughly a large part of base HP per volley and punishes light loadouts that skipped the Oil Rig mini-event entirely.
Mile Budgeting
Each biome runs longer than it feels. Stage 2 alone covers a long stretch, and most new players hit the Military boss with a bus that has only tier 1 walls. Plan your bus upgrades to be one tier ahead of the current biome, not at parity, because boss fights strip a tier of armor in a single phase if you are at parity.
A safe mile budget treats the total 100,000-mile run as five non-negotiable checkpoints rather than a smooth climb, because backtracking to re-fight the Military or Creature boss after a wipe can burn a lot of runway in repairs and respawns. New players on a last stop walkthrough should pad each tier with a small amount of slack so a single bad bus loadout (e.g. running tier 2 walls into the 20,000-mile stage 2 spike) does not cascade into a reset. Treat the breakpoints below as floors, not goals, and reallocate whenever your bus falls behind the recommended tier.
-
0 – 5,000: Tier 1 bus, starter sword, no sidearm.
-
5,000 – 20,000: Tier 2 walls, pistol, sleeping bag unlocked.
-
20,000 – 40,000: Tier 3 walls, burst rifle, roof storage.
-
40,000 – 70,000: Specialty bus (Alien if true ending), SMG, Vault buffer.
-
70,000 – 100,000: Fully kitted bus, all medkits stocked, true ending prep.
Frequently Asked Questions
How long does a Last Stop walkthrough run take?
A full clean run from depot to the true ending takes most players between 3 and 5 hours, depending on squad size and how often they stop to scavenge. Solo players typically run closer to 5 hours, while a coordinated squad of 4 can clear the route in 3. The 100,000-mile mark is a route length, not a session length, and most players split it across two or three play sessions.
What is the best class for beginners in Last Stop?
The starter melee class is the safest pick for the first run because it removes the ammo-cost pressure that wipes most new players in the opening stretch. Once you have the Vault reserves to rebuild after a loss, switch to the Electrocute class for the mid-route boss fights, and only commit to the Alien class when you are actively pushing for the true ending.
Can you replay the Last Stop true ending route?
Yes, but the flags only carry over through the Vault, not through the in-run save. If you want the true ending again on a fresh save, you have to refight Military, Anubis, Vampire Lord, and Alien Mothership in that order, then trigger Hollowjack before the final stretch. The Vault lets you start the second run with kitted gear, which makes the route faster but does not skip the boss gates.
Do the Last Stop keybinds work on controller?
No, the default PC keybinds do not map cleanly to a controller, and Last Stop does not ship with an official controller layout. Mobile players get a touch overlay instead, which is covered in the mobile controls guide. For PC players who want a controller experience, the community-recommended workaround is to remap Left Click to a mouse side button and treat the keyboard as a backup for inventory and build placement.
What happens if you skip the Alien Mothership in Last Stop?
You still reach the final stretch, but you cannot unlock the true ending. The Fred fight plays out, and the route ends in the bad ending, which closes the run without the post-credits route. The Mothership only spawns during a Nightmare-mode weather event, and missing that window is the single most common reason new players see the bad ending on their first run.